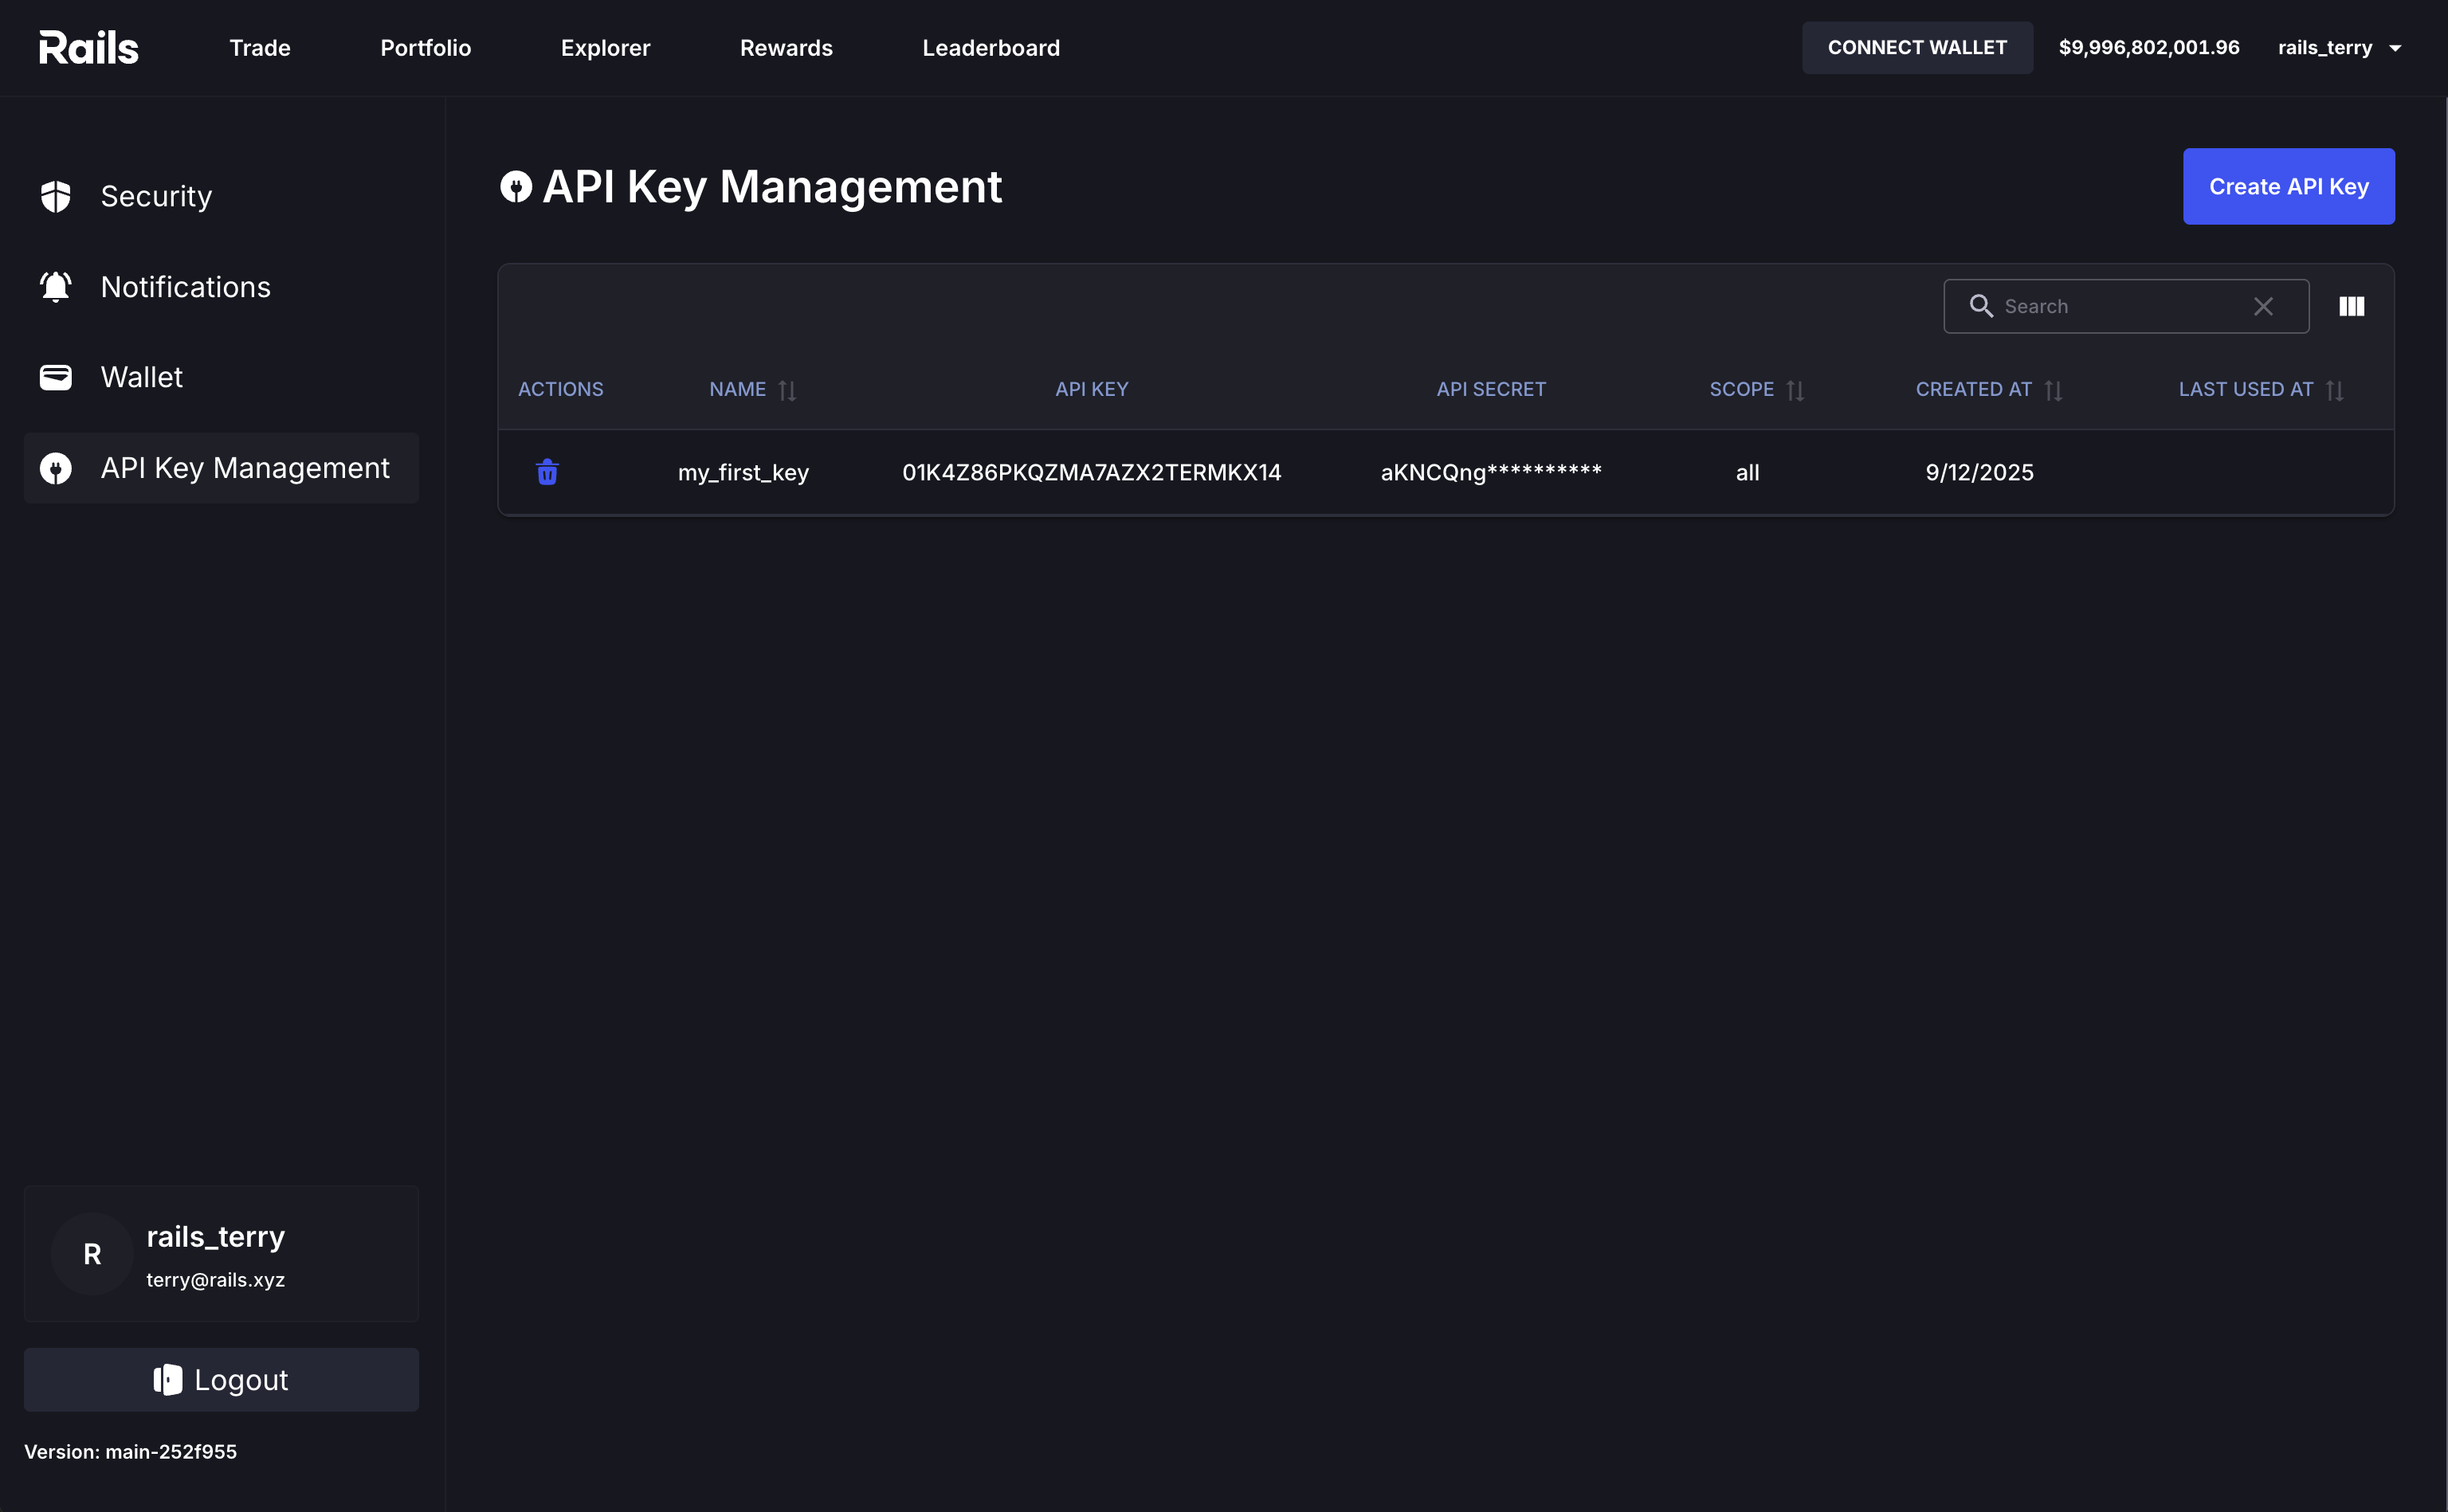
To access the Rails APIs, developers must first configure their API keys. This process is completed through the Rails UI.Documentation Index
Fetch the complete documentation index at: https://docs.rails.xyz/llms.txt
Use this file to discover all available pages before exploring further.
Create a New API Key
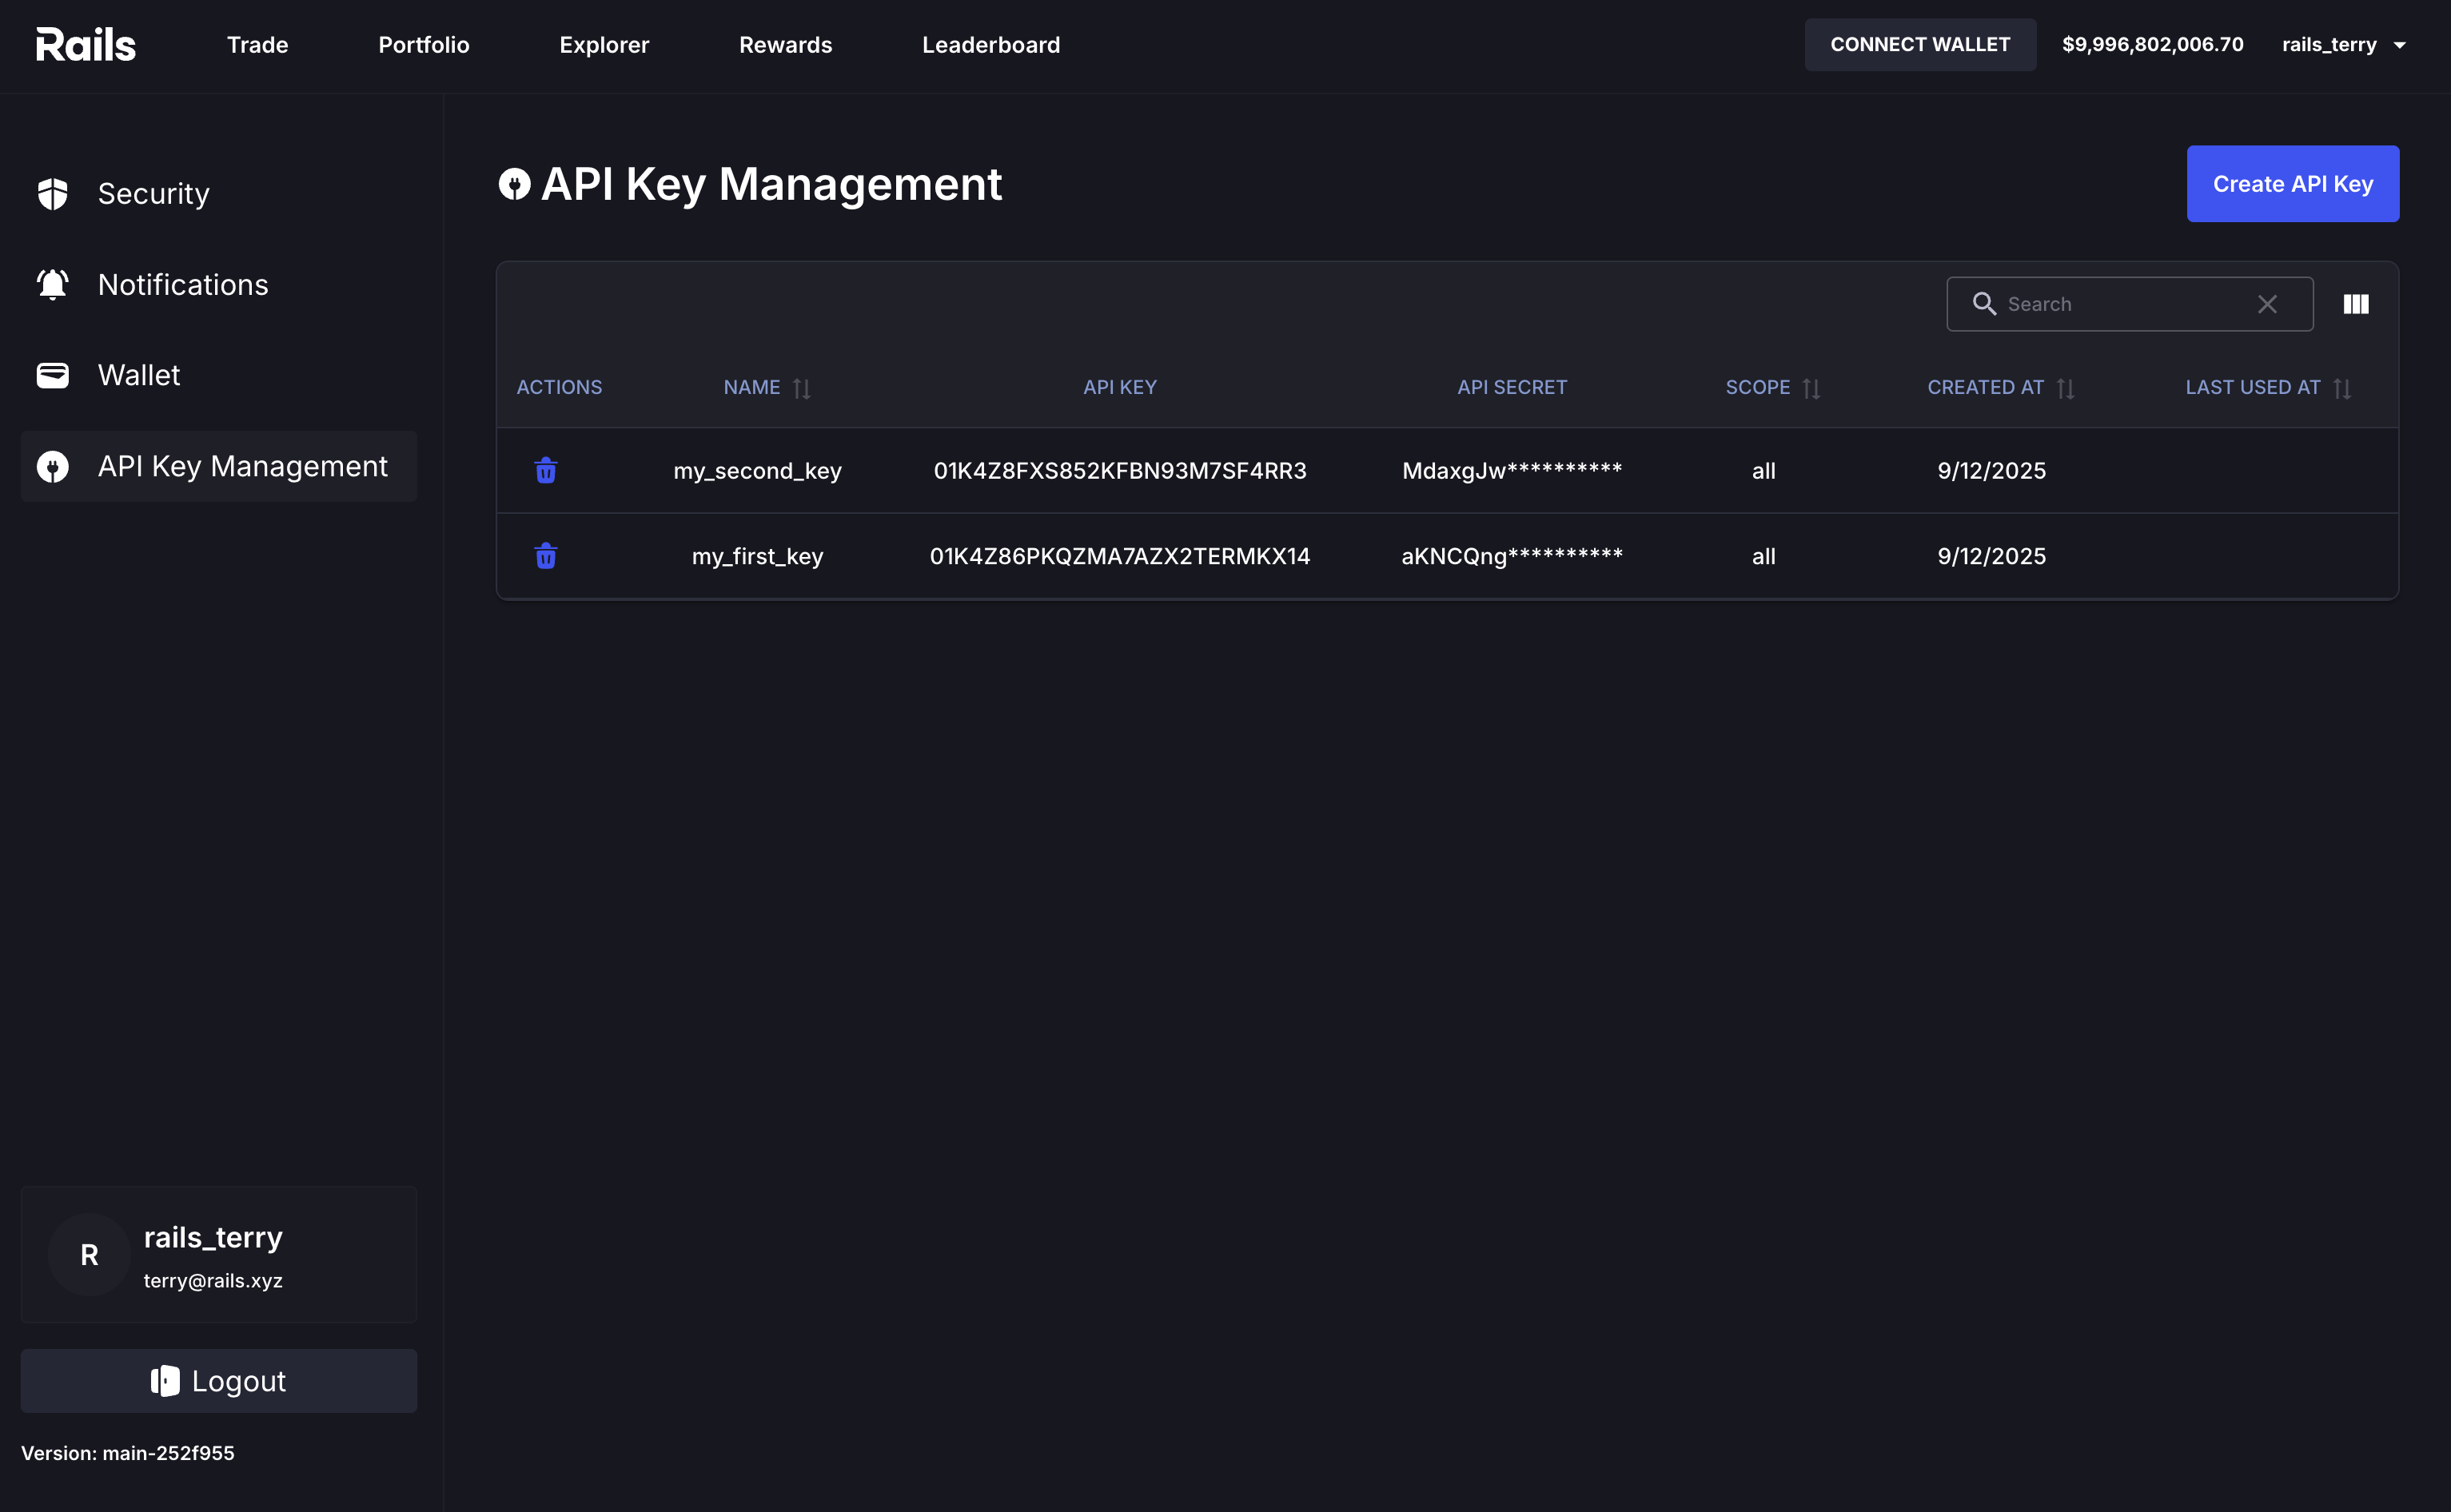
- Navigate to the API Key Management tab under Settings in the Rails UI. Here, you will see your existing API keys and the option to create a new one.
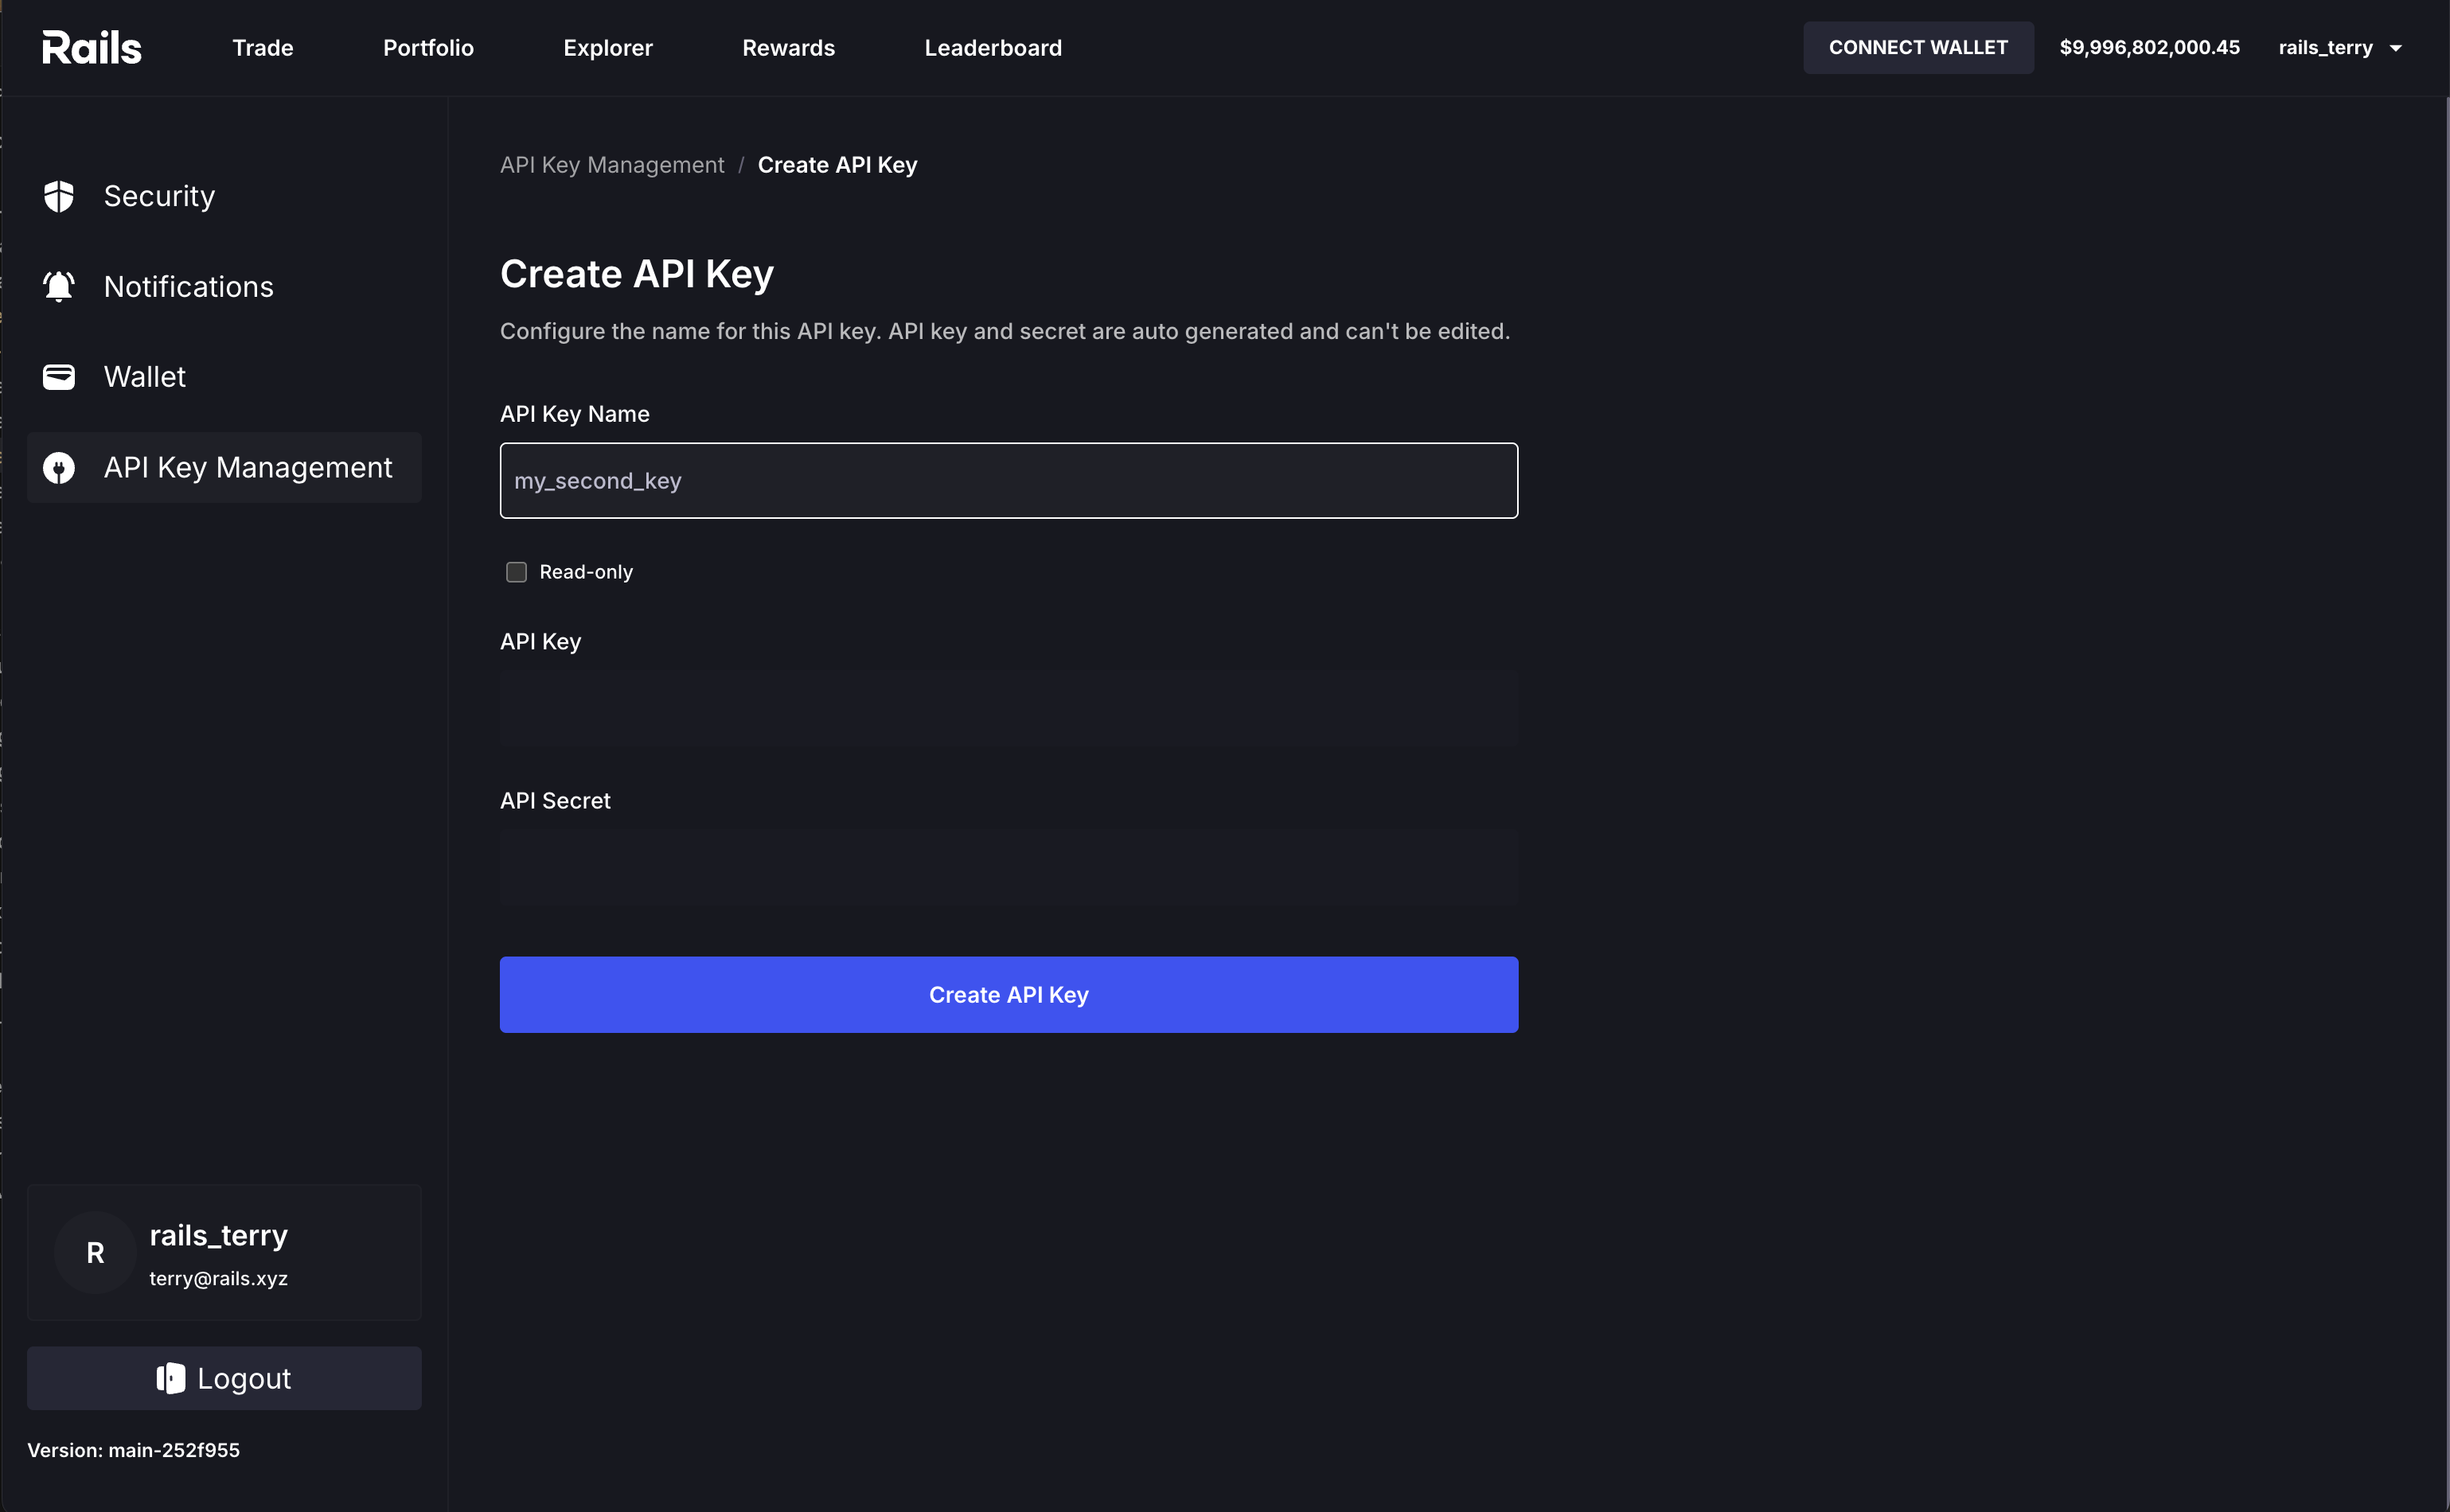
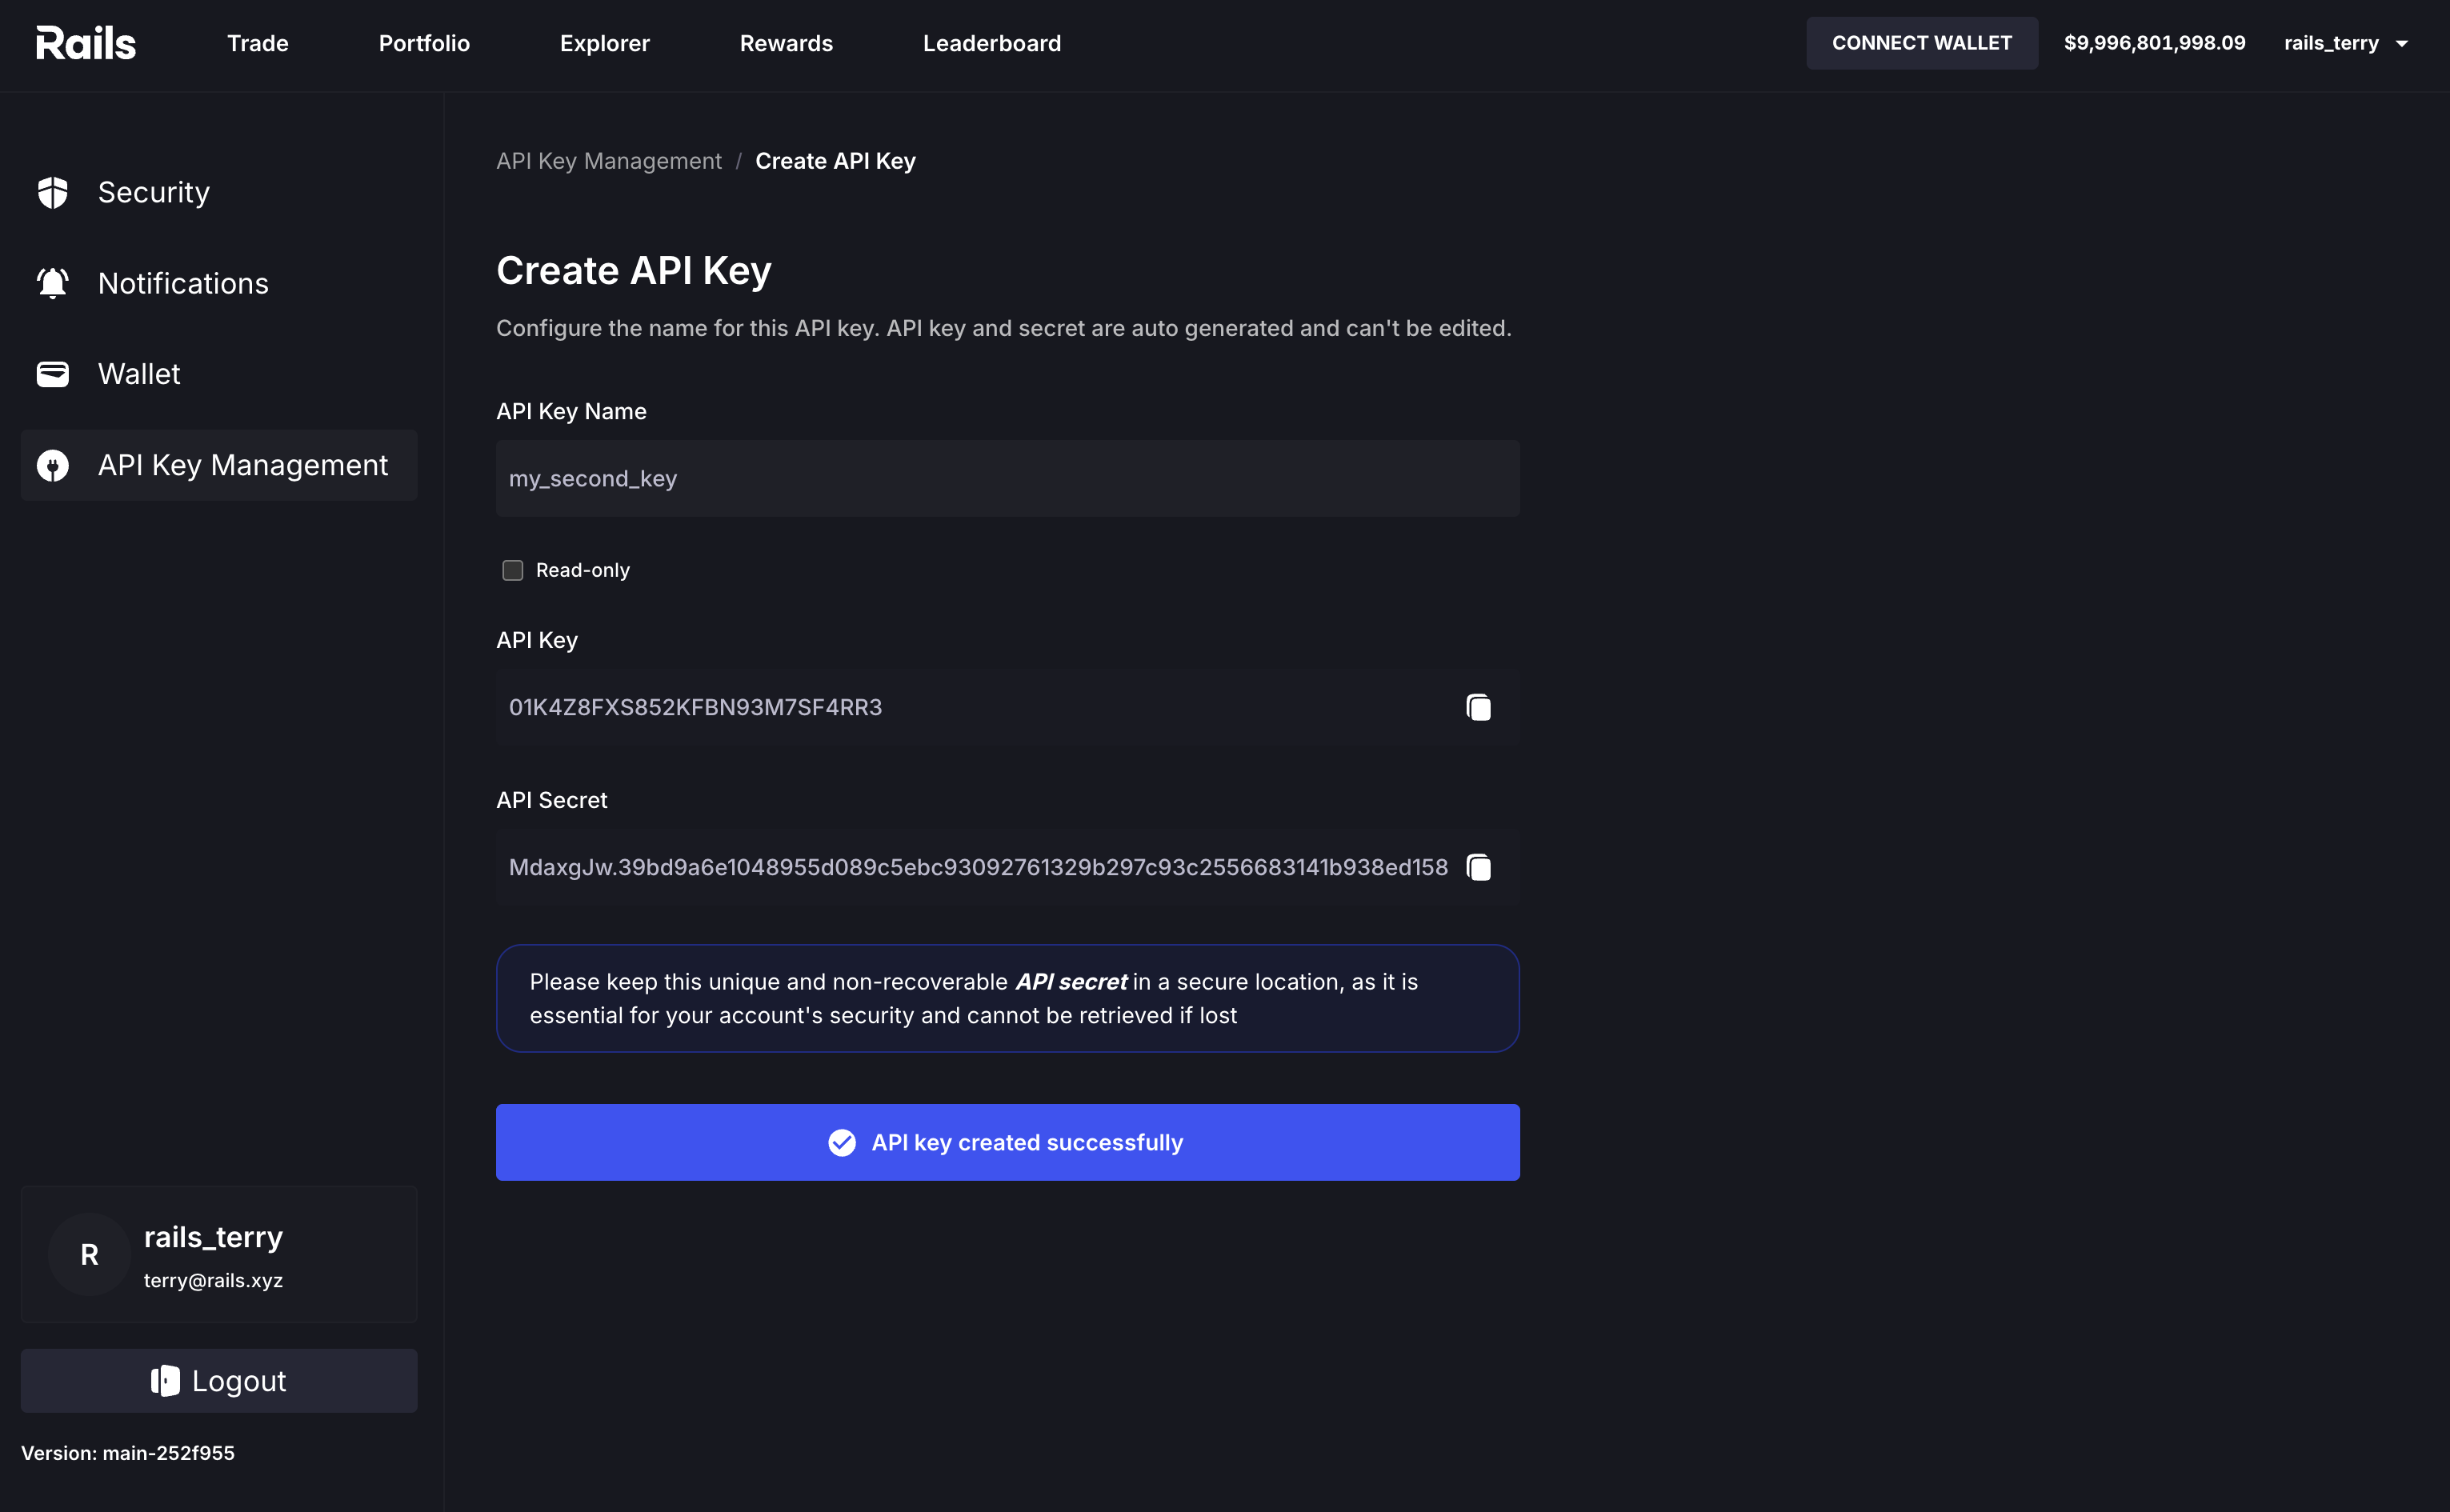
- Click the Create API Key button. On the following page, provide a descriptive name for your new key and confirm by clicking Create API Key.
When creating an API key, you may select the read-only option. Read-only API keys restrict access to the following User Account endpoints:
- Get Balances
- Get Open Orders
- Get Open Order by ID
- Get Completed Orders
- Get Positions
- Get Deposits
- Get Withdrawals
- Get Fundings
Revoke an Existing API Key
If an API key is compromised or you wish to rotate your keys periodically, click the “trash can” icon to revoke it.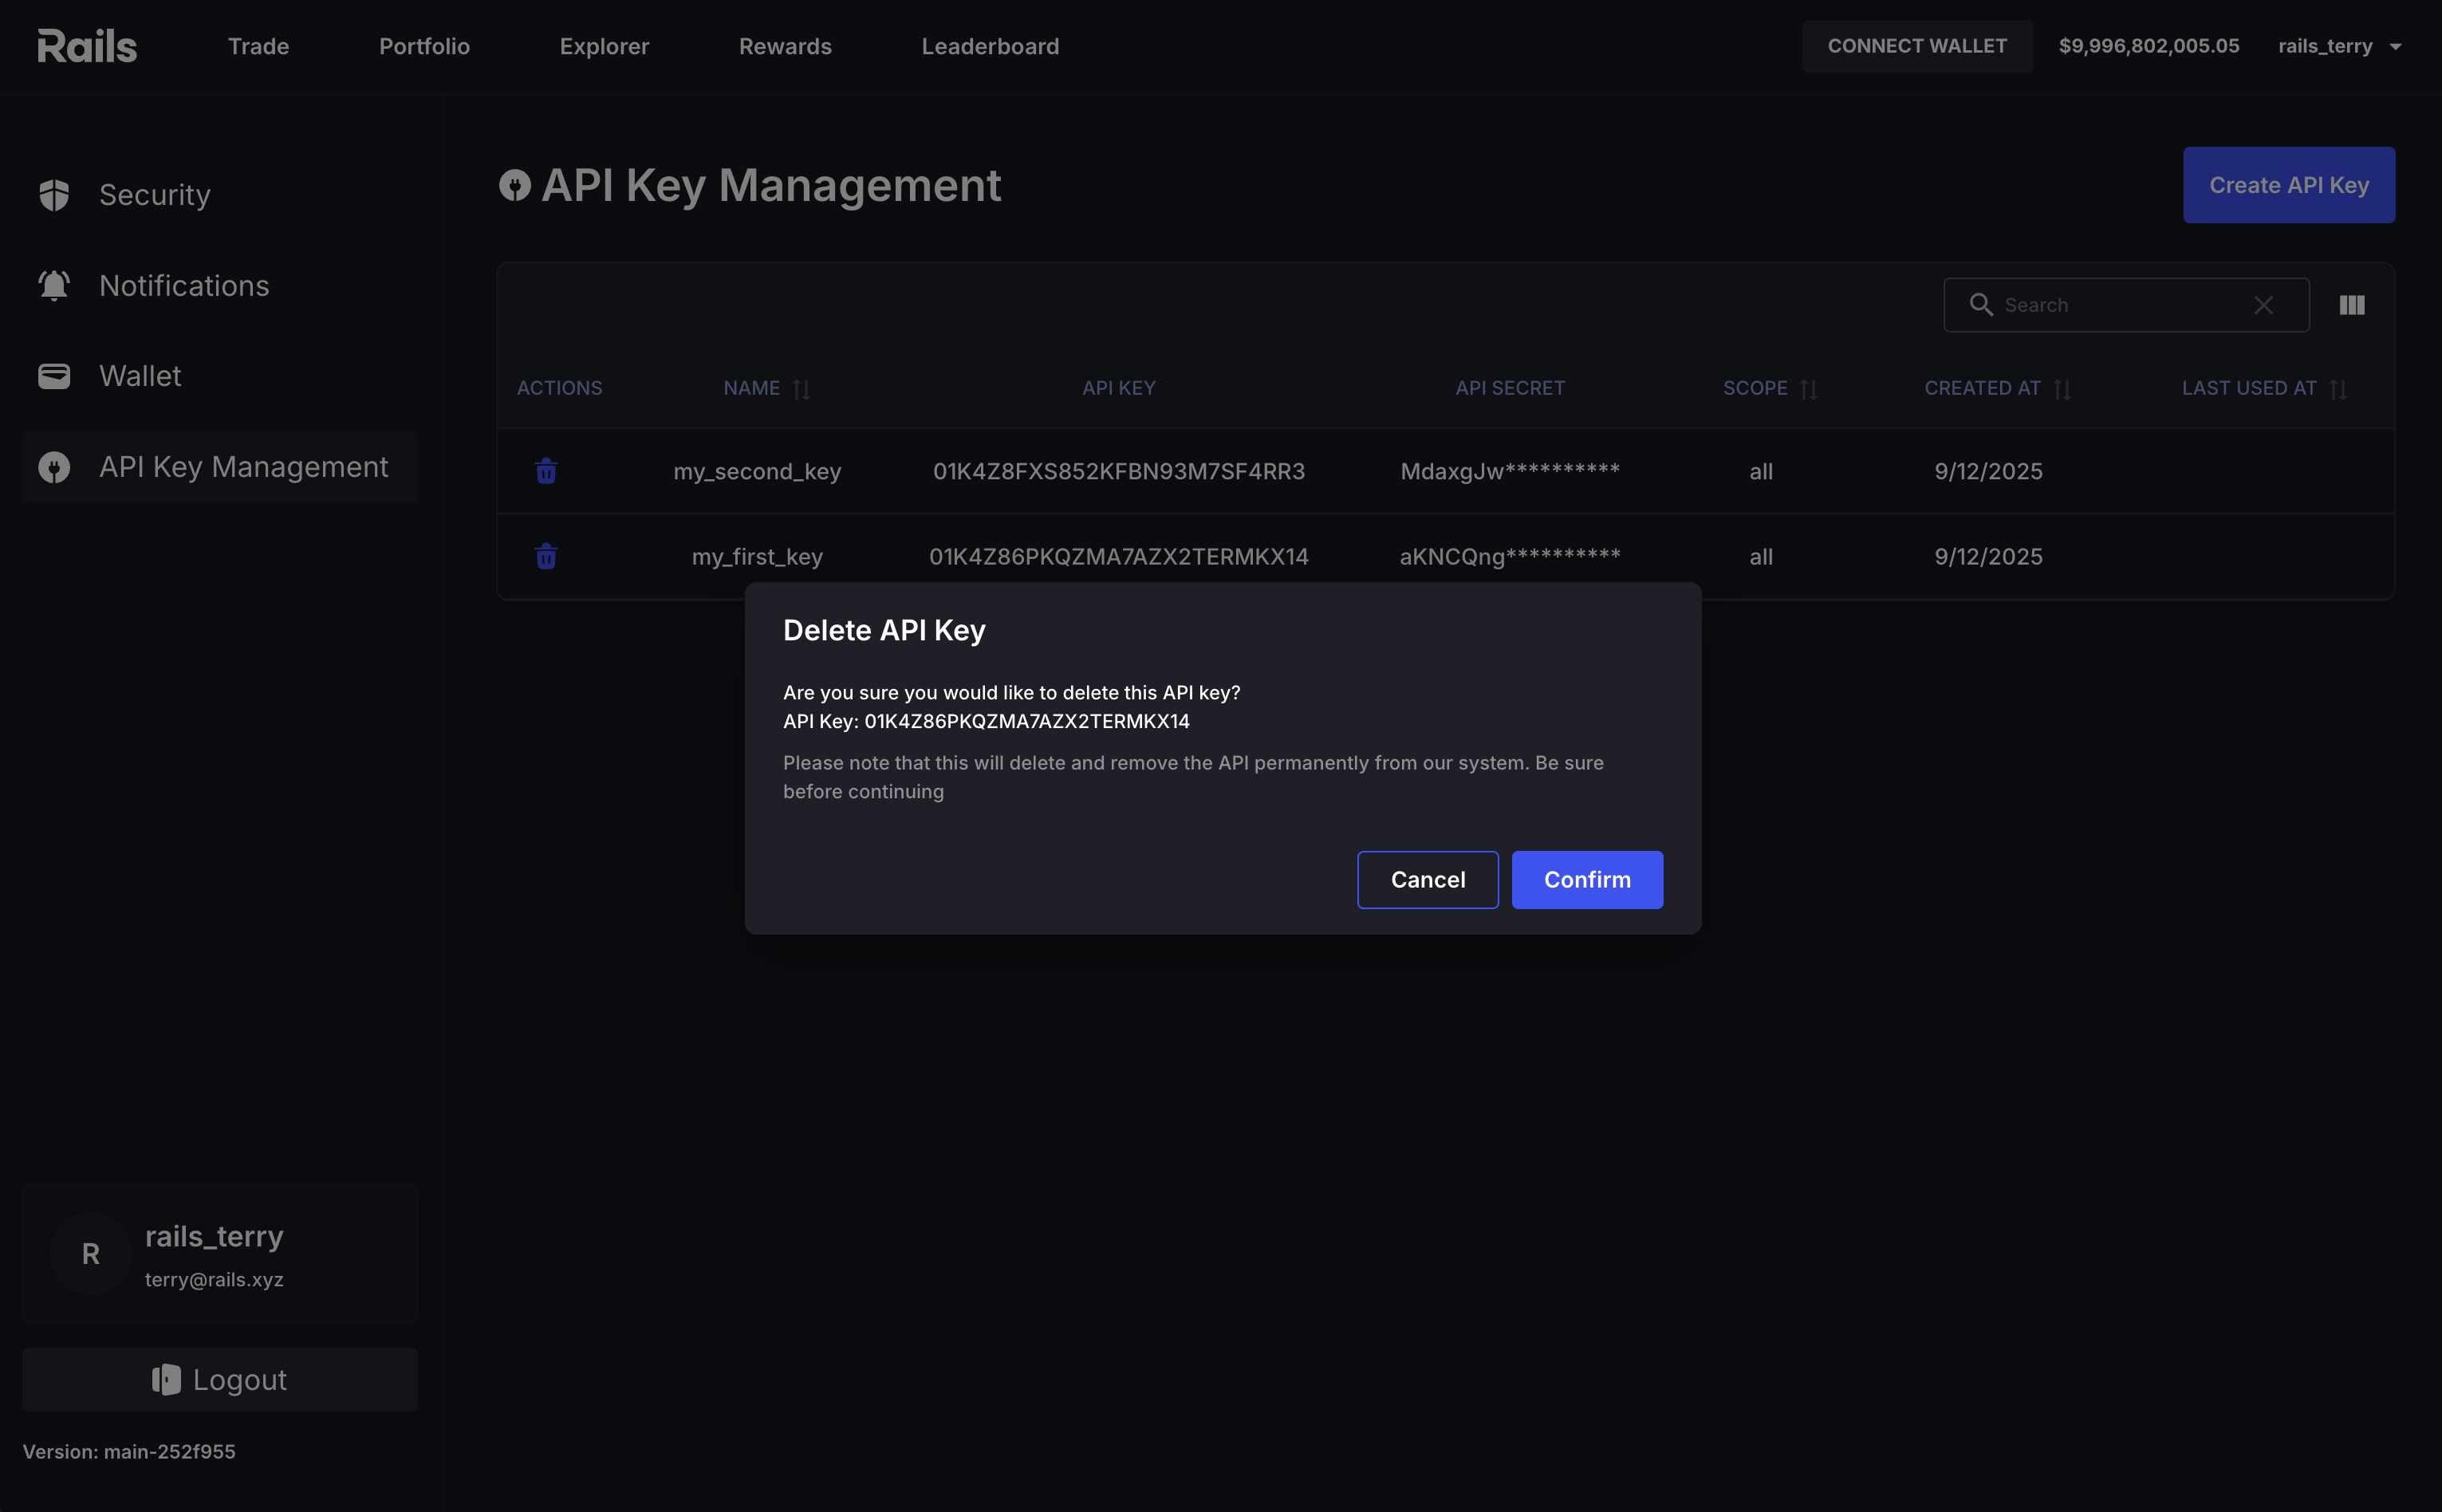
Use an API Key
API keys (key and secret) are used to obtain a short-lived access token for authenticating with the Rails APIs. For details, refer to the Get Access Token endpoint. Security best practices:- Always access your API secrets securely (e.g., via environment variables).
- Never commit your secrets to a code repository.